Handwriting
How to teach cursive at home: a step-by-step plan
By Jobi · Creator & Maintainer, PrintablesWorld · Updated 2026-07-30 · 8 min read
Ten quiet minutes after breakfast, a child at the table, one practice sheet, a few letters to copy. That small, repeatable routine is the heart of how to teach cursive at home, and a free printable handwriting practice generator makes a fresh sheet easy to produce each day.
This guide covers what cursive asks of a young writer, then sets out a four-week plan: twenty short sessions of ten minutes, building from single letters to joined words.
What does learning cursive actually involve?
Cursive is a joined style of handwriting where letters connect with linking strokes, so the hand lifts less often than it does in print. Learning it asks for three things at once: forming each letter shape correctly, holding the pencil comfortably, and joining one letter to the next smoothly. Most teaching schemes group letters into families that share a stroke, and building those families one at a time, before any joining, gives a young writer a clear path to follow.
Why some families choose to teach cursive at home
Some parents teach cursive to back up what school is already doing; others teach it from scratch at home. A calm, one-to-one setting can suit a child who finds a busy classroom distracting. Research offers one reason the effort can be worthwhile: a study by James and Engelhardt found that forming letters by hand activated brain regions linked to later reading in young children, more than typing or tracing did. That work looked at handwriting in general rather than cursive in particular, but it points to forming letters by hand as a skill worth practising, with benefits that differ from one child to the next.
How to teach cursive at home, step by step
A clear sequence keeps the routine calm, moving from posture to single letters, then to joins.
- Set up well. Sit the child with feet flat, the paper tilted slightly, and the pencil in a relaxed grip.
- Warm up the hand. A minute of loops, waves and zigzags loosens the wrist and rehearses the movements cursive uses.
- Teach one letter family at a time. Start with letters that share a stroke, such as the round family.
- Model, then copy. Show the letter slowly, say aloud where the pencil starts and turns, then let the child copy it.
- Add the joins. Once a few families are secure, practise the linking stroke, then build up to short words.
- Keep it short and regular. Ten focused minutes on most days does more than one long session a week.
A worked four-week cursive practice plan
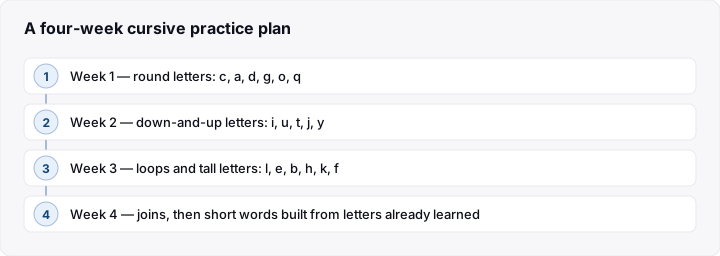
Here is a plan you can reproduce on a single sheet. It assumes ten minutes a day, five days a week, which gives twenty short sessions across four weeks. Each day uses one sheet with two or three target letters.
- Week 1, round letters: c, a, d, g, o, q. These all begin with a similar curving stroke. Copy rows of single letters at a comfortable size.
- Week 2, down-and-up letters: i, u, t, j, y. These share a straight downward movement and a turn. Keep the size consistent with week one.
- Week 3, loops and tall letters: l, e, b, h, k, f. Looped ascenders need more height, so keep the loops open and the tall strokes reaching the top line.
- Week 4, joins and short words. Practise the linking stroke, then copy short words built from letters already learned, such as cat, dog, bed and leaf.
The plan covers the main stroke families and the first joins, not all twenty-six letters in a month. The remaining letters follow the same idea: group them by stroke, then join.
How to use the handwriting practice generator
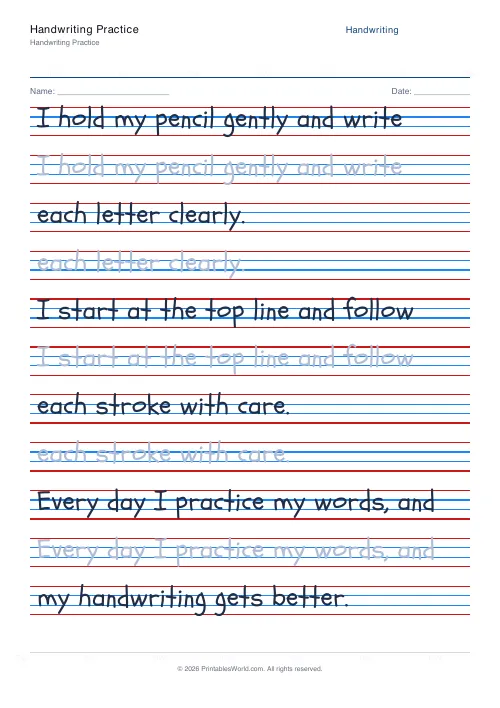
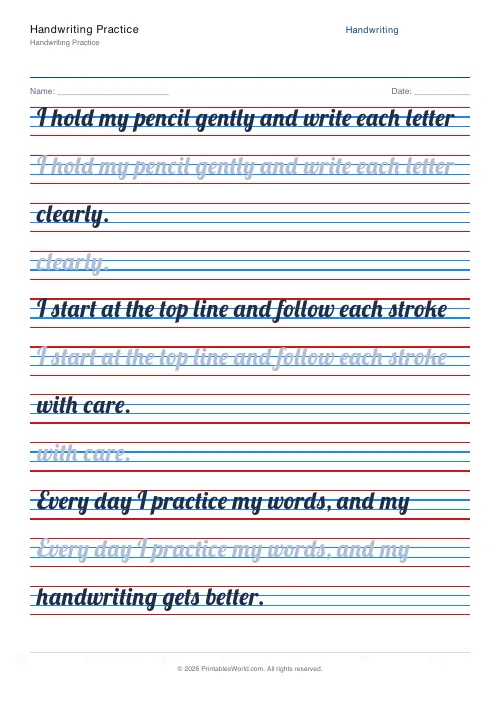
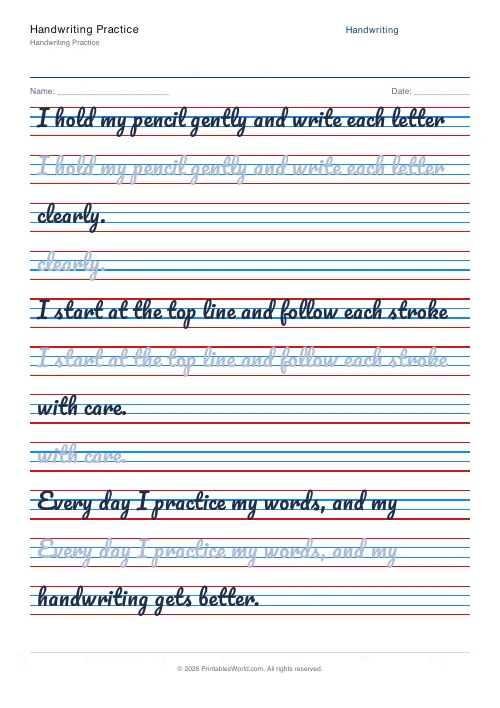
The handwriting practice generator turns the plan above into printable sheets. You choose the letters or words, the guide-line style and the writing size, then download a PDF. Options usually include the line style, the number of rows, and whether letters appear as dotted shapes to trace or as a model to copy.
The output is a clean PDF sized for standard paper, whether that is A4 or US Letter. In the early weeks, dotted tracing letters give a child something to follow; later, switch to a model letter with blank rows beneath it. If your printer is short on lined paper, a generator for dotted-line handwriting paper can produce plain sheets to pair with it.
Adapting cursive practice for different learners
No two children write the same way, so adjust the sheets to suit the child.
The child who writes with the left hand
Left-handers often write more comfortably with the paper tilted the other way and set a little to the left. A more upright style and extra spacing give the hand room to move.
The young or still-developing writer
Wider line spacing and larger letters suit smaller hands and developing control. Fewer rows per sheet keeps sessions short and positive.
The confident writer ready for speed
A child whose letters are already neat can move to narrower lines and short sentences, shifting the focus from shape to rhythm. You can find more handwriting practice sheets to vary the routine.
Common mistakes to avoid
- Starting joins too early. Joining before the single shapes are secure often leads to messy writing.
- Sessions that run too long. Tired hands write worse, not better. Short and regular wins.
- Lines that do not match the stage. Spacing that is too narrow cramps a young writer, so match the lines to the child.
- Pushing for speed too soon. Speed comes after shape and rhythm start to feel comfortable.
- Skipping the warm-up. A minute of loops and patterns prepares the hand.
Frequently asked questions
What age is a good time to start learning cursive?
There is no single right age, and it varies by country and school. Many children begin joined writing once they can form most printed letters clearly and hold a pencil comfortably, often around ages five to seven, which falls in the early primary years in most school systems. Readiness matters more than a birthday. A child who still finds single letters tiring may do better with more printing practice first, so beginning with just a few letter families is a relaxed place to start.
Should children learn print or cursive first?
Schools differ, and both approaches are common around the world. In some countries children learn a joined or semi-joined script almost from the start, with entry strokes that make joining feel natural; in others they learn clear print letters first and add joins later. Research on letter formation suggests that writing letters by hand can support letter recognition whichever style is used. For learning at home, a practical path is to make sure printed letters are reasonably secure, then move into joins family by family, aiming for steady, readable writing rather than speed.
How long does it take to learn cursive at home?
It depends on the child, how often you practise, and the starting point. A focused four-week plan of short daily sessions, for example ten minutes a day across five days a week, gives twenty sessions and can build the main letter families and first joins. That is often enough to write short words in a joined style, though smooth, faster handwriting develops over months of ordinary use. Some letters click quickly while others need repeating, so short, consistent practice helps.
What lined paper works best for cursive practice?
Lines that show where letters sit help a great deal. Many families use a baseline, a midline for the body of the small letters, and a top line for tall letters, sometimes with a faint dotted midline. Wider spacing suits younger writers, while narrower spacing suits neater, smaller writing. Dotted letters to trace can help at the very start, with plain guide lines as confidence grows, so paper you can set to the right line style lets you match the sheet to the stage your child is at.
Sources and further reading
The guidance here draws on education and handwriting research, not on any single product or method.
- National Handwriting Association, a charity that promotes good practice in the teaching of handwriting.
- James, K. H. and Engelhardt, L. (2012), The effects of handwriting experience on functional brain development in pre-literate children, Trends in Neuroscience and Education.
Before you print
Teaching cursive at home does not need a special curriculum or long lessons. It needs a clear order, short regular sessions, and sheets that match the stage your child is at. Begin with one letter family, build up to joins, and let short words be the first month's reward. The printable cursive practice sheets from the handwriting practice generator make that daily ten minutes simple to set up.
Related tools
Handwriting Practice Generator
Create custom 4-line handwriting practice sheets with trace rows, adjustable guides, and your own text.
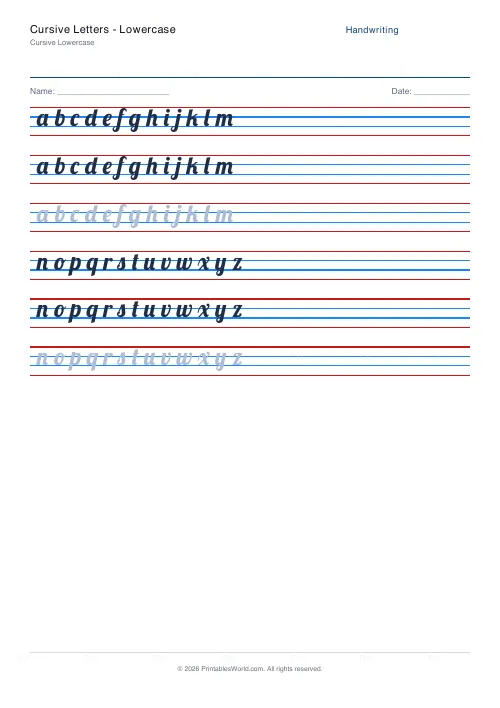
Cursive Letters: Lowercase
Trace and practise cursive lowercase letters with directional flow.
Lined Paper Generator
Generate custom ruled paper PDFs with adjustable line spacing, colours, margins, and primary ruling styles.
Continue reading
Handwriting
Print vs cursive: which should children learn first?
Countries disagree, schools disagree, and the research is thinner than either side suggests. Here is what print and cursive each actually do well, and a practical way to decide for one child.
6 min read
Handwriting
How to teach handwriting to kids: a step-by-step guide
A practical order for teaching handwriting: get the body and the pencil right first, then teach letters in stroke families rather than alphabetically, and keep sessions short enough that the hand never tires.
7 min read