Handwriting
How to teach handwriting to kids: a step-by-step guide
By Jobi · Creator & Maintainer, PrintablesWorld · Updated 2026-06-14 · 7 min read
Most handwriting difficulties are not about effort. A child who grips the pencil in a fist, sits twisted sideways, or learns letters in alphabetical order is being asked to do something harder than it needs to be. Getting the order right makes the practice itself easier, and a free printable handwriting practice generator turns each step below into a sheet in a few seconds.
This guide sets out what to teach, in what order, and how long each session should last.
What to get right before any letters
Three things sit underneath handwriting, and none of them involves a letter.
Posture. Feet flat on the floor, hips to the back of the chair, table at about elbow height. A child whose feet dangle braces with their trunk, and a braced trunk cannot let the arm move freely. A box under the feet fixes more handwriting problems than any worksheet.
The non-writing hand. It should be holding the paper. Children who leave it in their lap chase the sheet around the table, and the writing wanders with it.
Pencil grip. A relaxed tripod, thumb and index finger, resting on the middle finger, is the usual aim, but a comfortable, consistent grip that lets the fingers move is more important than a textbook one. A grip that pins the pencil rigidly means the whole arm has to draw each letter, which tires quickly.
If a child is fighting any of these three, fix that before working on letter shapes. Practice built on a bad setup rehearses the bad setup.
Teach letters in families, not alphabetical order
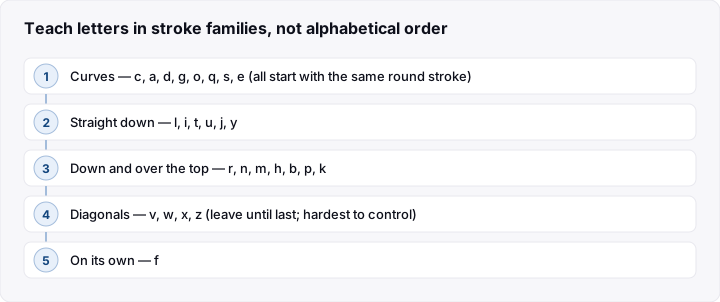
The alphabet is an arbitrary order for learning to write. a and b share nothing; c, a, d, g, o and q all start with the same anticlockwise curve. Grouping by the movement means each new letter is a small change to one the child already owns.
The usual families for print letters:
- Curves (the c family): c, a, d, g, o, q, s, e. All begin with the same round stroke.
- Straight down (the l family): l, i, t, u, j, y. A downward stroke, sometimes with a turn.
- Down and over the top (the r family): r, n, m, h, b, p, k.
- Diagonals: v, w, x, z. Left last: diagonals are the hardest to control.
- Odd ones out: f. It suits its own short session.
Start with the curve family. It contains a and o, which appear in almost every early word, and the movement is the one most children can already make.
A step-by-step teaching sequence
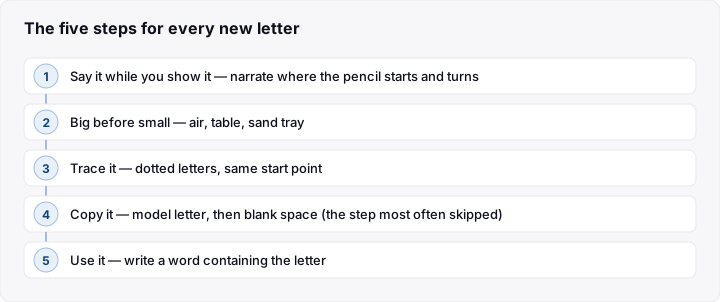
The same five steps work for every letter, and the order matters more than the time spent on any one of them.
- Say it while you show it. Write the letter slowly and narrate the movement. "start at the top, curve round, straight down". The words become what the child says to themselves later.
- Big before small. Trace it in the air, on the table, in a tray of sand or salt. Large movements use the shoulder and arm, which are under control long before the fingers are.
- Trace it. Dotted letters on paper, following the same start point you narrated.
- Copy it. A model letter at the start of the line, blank space after. This is the step that actually builds the memory, and it is the one most often skipped.
- Use it. Write a word containing the letter. A letter practised only in rows tends not to transfer into real writing.
Two or three letters from the same family per session is plenty. Six is a session nobody enjoys.
How long a session should be
Ten minutes, most days, beats forty minutes once a week. Handwriting is a motor skill, and motor skills consolidate through frequent short practice rather than long blocks.
Watch the hand rather than the clock. When a child starts gripping harder, pressing through the paper, or their letters begin to grow and drift, the hand is tired and everything after that point is rehearsing tired handwriting. Stop there, even if it is four minutes in.
End on something that went well. A child who finishes on their best line remembers handwriting as a thing they can do.
Choosing the right practice sheet
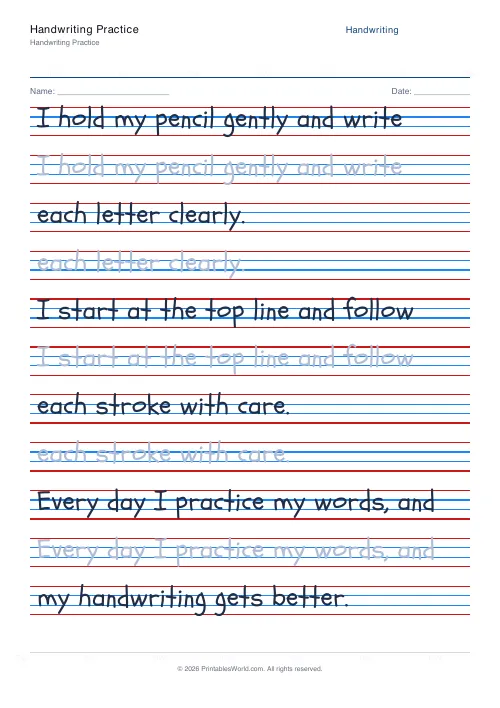
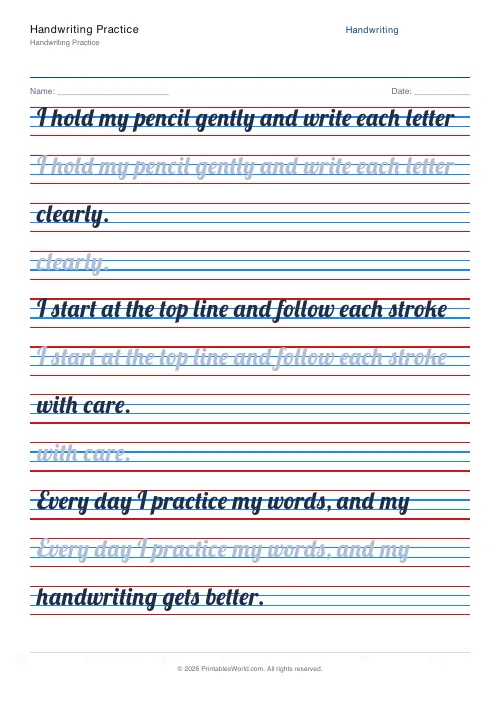
The handwriting practice generator makes a sheet for whichever step you are on, and the settings map onto the sequence above:
- Line height: the single most useful setting. Wide spacing (around 8mm) for beginners and younger hands; narrower (5–6mm) as control improves. Spacing that is too tight is the commonest reason a sheet feels impossible.
- Trace style: dotted letters for step 3, then switch to a model letter with blank rows for step 4.
- Your own text: type the two or three letters of the family you are teaching, or a word that uses them.
For a reference sheet showing correct shapes, the letter formation sheets show where each stroke begins. Taped to the table, it saves a child asking every time.
Common problems and what to do
Letters start at the bottom
Very common, and worth correcting early. Bottom-started letters are slower and join badly later. Go back to narrating the start point, and mark a green dot where the pencil should begin.
Writing drifts above or below the line
Usually the lines are wrong for the child rather than the child being careless. Try wider spacing, or a sheet with a dotted midline so there is something to sit the small letters against.
Pressing too hard
Often a grip or fatigue problem rather than a habit. Check the setup, shorten the session, and try a softer pencil.
It is neat in practice and messy in schoolwork
Normal, and it means the skill is not yet automatic. Keep practising, but stop expecting practice-quality writing in a task where the child is also thinking about spelling and content.
Frequently asked questions
What age should a child start handwriting practice?
There is no single right age and it varies by country and school. Many children begin forming letters between four and six, once they can hold a pencil comfortably and copy simple shapes like a cross and a circle. Readiness matters more than age: a child who cannot yet copy a circle is usually better served by drawing, cutting and construction play, which build the same control.
Should I correct every letter?
No. Pick one thing per session, start points, or size, or spacing, and let the rest go. A page covered in corrections tells a child that everything they did was wrong, which is both discouraging and untrue.
Does handwriting still matter when children type?
Handwriting remains how most children record their thinking in school, in exams and in everyday life, so legibility and reasonable speed have practical value. Research on letter formation also suggests writing letters by hand engages processes linked to letter recognition differently from typing, though findings vary between studies and it is not a reason to abandon keyboards.
How long until handwriting improves?
Letter shapes usually respond within a few weeks of short daily practice. Fluent, comfortable, automatic handwriting develops over months of ordinary use, because that is what makes it automatic rather than deliberate.
Sources and further reading
The guidance here draws on handwriting teaching practice and education research rather than any single scheme.
- National Handwriting Association, a charity promoting good practice in the teaching of handwriting.
- James, K. H. and Engelhardt, L. (2012), The effects of handwriting experience on functional brain development in pre-literate children, Trends in Neuroscience and Education.
Before you print
Set the chair and the grip first, teach letters in families rather than alphabetically, and keep sessions to ten minutes on most days. Print one sheet for the family you are working on rather than a booklet you will not finish — the handwriting practice generator makes a fresh one each day in a few seconds.
Related tools
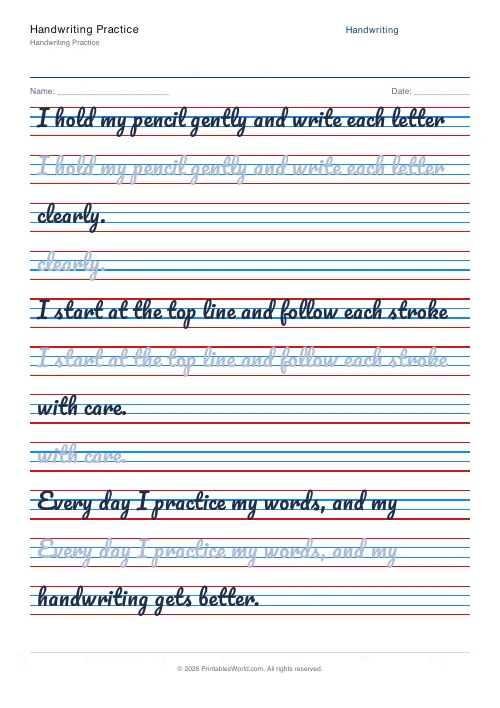
Handwriting Practice Generator
Create custom 4-line handwriting practice sheets with trace rows, adjustable guides, and your own text.
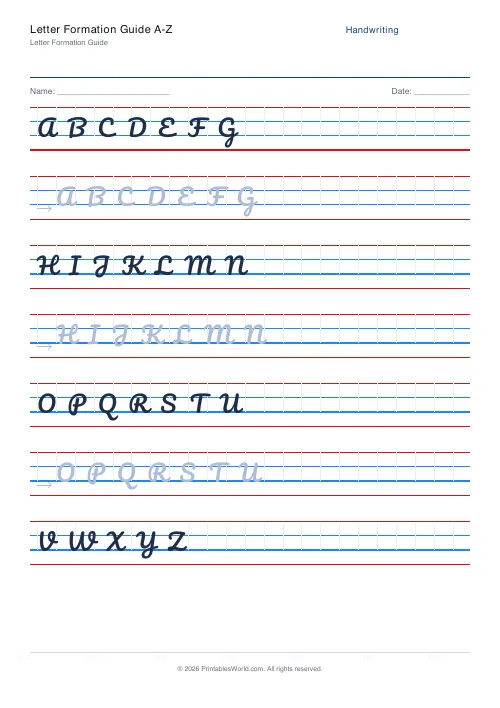
Letter Formation Guide A-Z
Full alphabet with directional arrows for stroke-order learning.
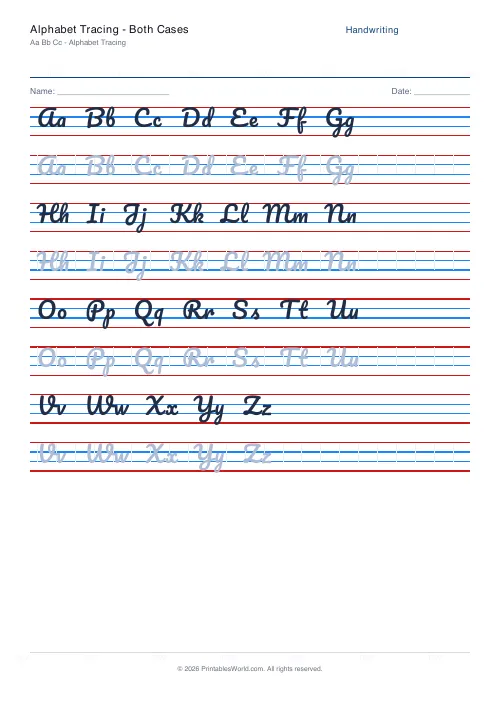
Alphabet Tracing: Both Cases
Uppercase and lowercase letters paired on one sheet for comparison.
Continue reading
Handwriting
How to teach cursive at home: a step-by-step plan
A simple step-by-step plan for teaching cursive at home, with letter families grouped by stroke, a four-week practice sequence, and free printable sheets to download.
8 min read
Handwriting
Left-handed handwriting practice: free printable sheets
How to set up left-handed handwriting practice for comfort: paper angle, grip and page layout, plus free printable sheets designed for lefties.
7 min read